Last Updated on September 26, 2022 by gregor
If you’re like most people, your smartphone is always with you, which makes it the perfect tool for taking travel photos. But how do you take good travel photos with your smartphone? Here are some smartphone photography tips to help you take great travel photos on your next trip.
Why Using Your Smartphone Camera Is a Good Idea?
Taking pictures with your phone camera is a great idea for many reasons.
First: smartphone cameras are getting better and better every year. They now rival traditional point-and-shoot cameras in terms of quality, and they’re much more convenient to carry around.
Second: travel photography is all about capturing the moment. With a phone camera, you can take pictures anytime, anywhere.
Third: phone cameras are great for taking photos and videos of friends and family.
Fourth: with today’s technology, you can even edit your photos and videos right on your phone.
So if you’re a travel photographer or just someone who loves to take photos and videos, using your phone camera is a great idea.
Find out about your travel country and be inconspicuous
Other countries have other manners. Find out about your destination country before you plan your trip. Are there areas you would be better off avoiding as a tourist with expensive camera gear? How do people react to tourists with cameras at the ready? These are all important aspects of travel photography.
Even if you’re usually greeted with a smile, you don’t always like it when strangers take photos. We mention this point explicitly at the beginning because we have already experienced unpleasant situations when taking photographs while traveling.
By the way: With a good smartphone, you can also capture great photos in many situations or shoot videos – for Instagram, for example. The advantage: Compared to a camera with an interchangeable lens (DSLM or DSLR), a smartphone is fairly inconspicuous.
If you photograph people, ask for permission beforehand. Brief eye contact with a corresponding gesture and the camera in the hand is often enough.
Of course, you should also observe photo and film bans in foreign countries, for example in churches, temples, mosques, or museums, and ask nicely before taking pictures if the situation is unclear.
“The Rule of Thirds” – An Essential Smartphone Photography Principle
The idea of a photo is to capture a moment and all of the properties that come with it – atmosphere, feelings, and so on. Unfortunately, making a good composition is not something that comes intuitively to people, as adding or missing a single element could tell two completely different stories. If you’re focusing on the horizon and putting it in the middle of the photo, it could create an “awkward” unbalanced photo which might confuse the viewer about whether to look to the ground or the sky or what the main focus of the picture is. Thus learning the rules of the composition principles would significantly improve the quality of your photography.
An essential rule is “The Rule of Thirds”. Imagine that the photo is split into a 3×3 grid. When you’re capturing a moment, think of all the four square boxes that consist of an edge and the middle of the grid, those four boxes represent a third of the whole capture. Try to place the object in one of those squares. This is probably the most important among all tips we’re providing.
“The Rule of Thirds”. Imagine that the photo is split into a 3×3 grid
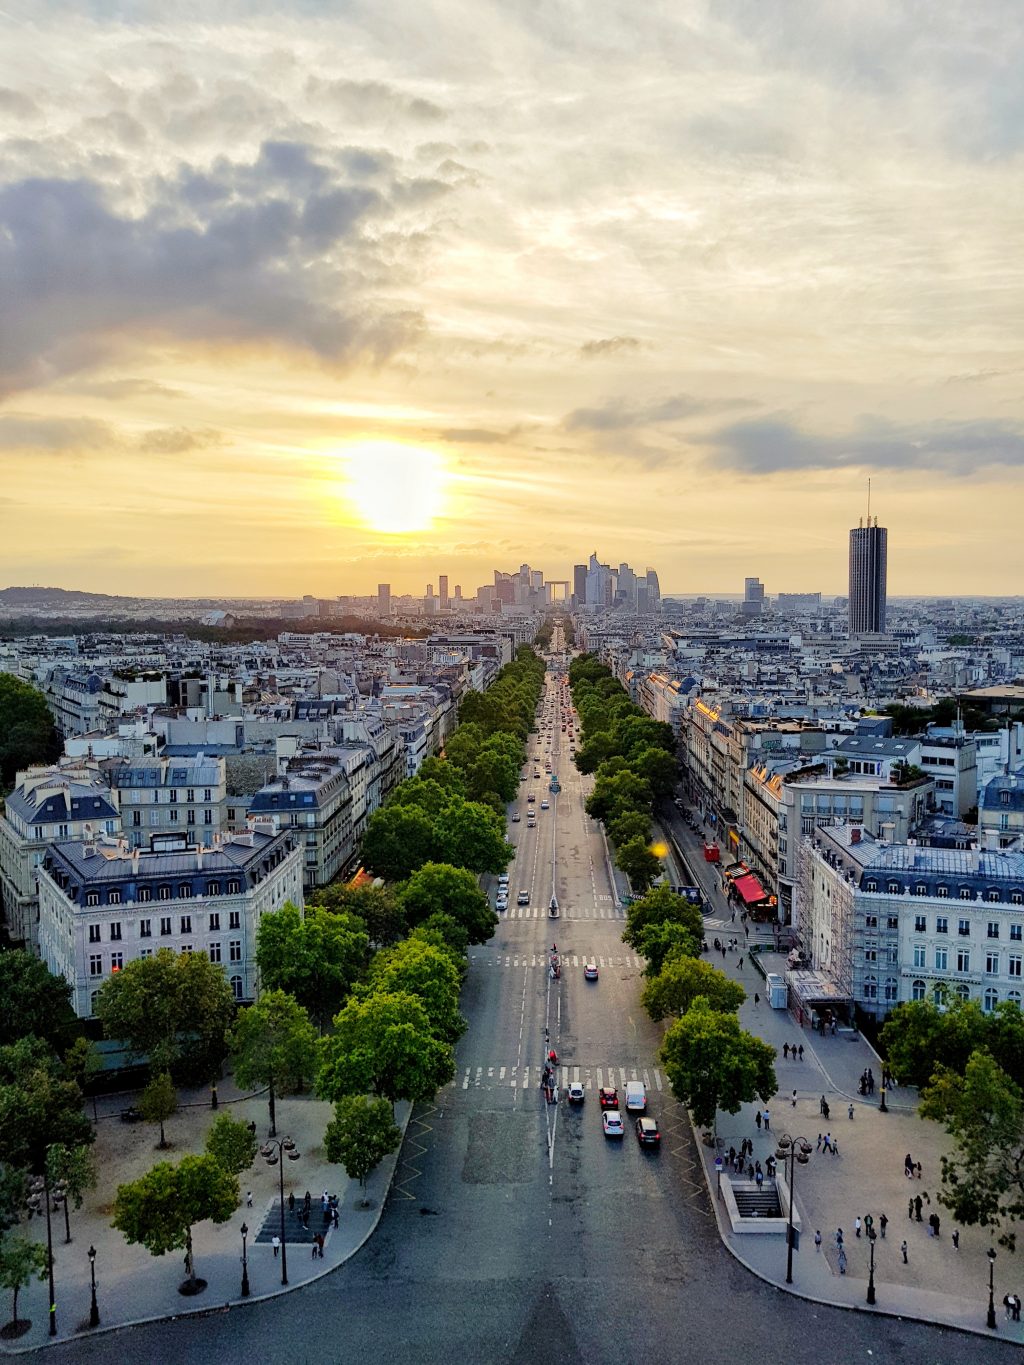
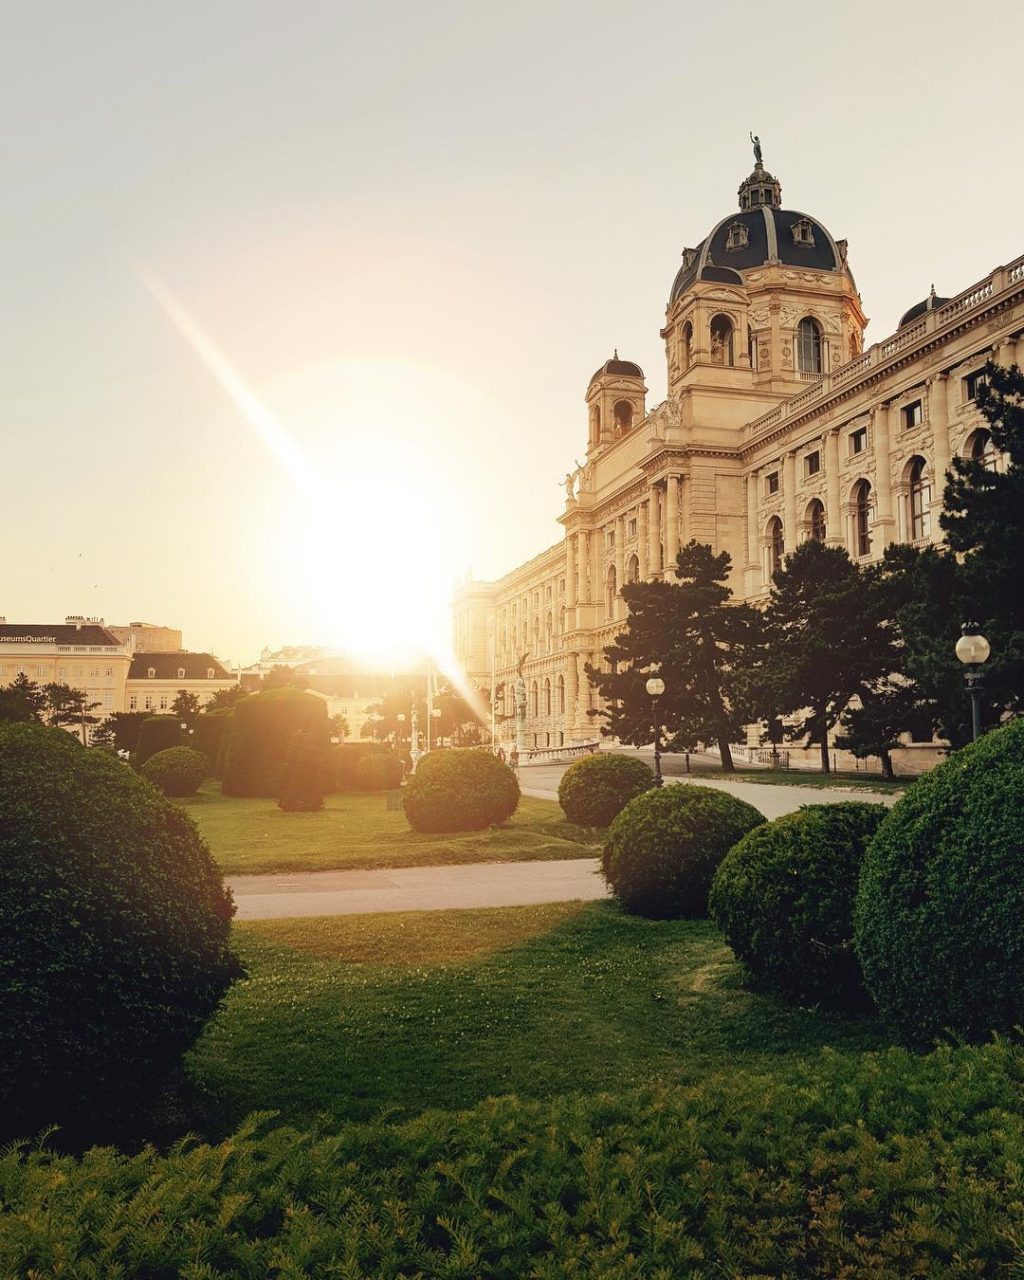
Follow the light
We now have good news for early risers. The most beautiful light for taking photos is in the morning at sunrise. In addition, getting up early and photographing the sunrise in most places has a huge plus, because you are often completely alone and do not have to share your subject with hordes of other photographers.
But we also have good news for all of us who are not early risers. In the evening at sunset, you also have beautiful light that you should definitely use to take pictures!
Capture Multiple mobile photos
One of the best things about smartphone photography is that you can take as many photos as you want and there is no need to print them off to see the results. This makes it much easier to learn and improve from your results. Burst photos are good to use when using your smartphone for photography they allow you to capture multiple shots as your subject moves. Once you’ve taken a set of burst photos, you can then select the best shots.
Take Your Time
When you travel, you most likely spend a lot of time trying to understand and learn the cultural difference, the significance of museum art pieces and etc.
On another side, the first cell phones, equipped with cameras, only had the option of taking photos extremely fast, making the shot easy to take, but reducing its quality by quite a lot.
The modern-day smartphones have premium quality cameras and possess all the features necessary to take a nice crisp and clear photo, there are no excuses for poor photography.
Take an extra moment and figure out what’s wrong with your composition. Something is definitely wrong if you’re a beginner. Make the proper adjustments and make sure to include anything that might pose to be of interest. Think about the angle you’re shooting from and where the light falls, also adjust the lighting if necessary, and only then forge the moment onto the physical hard drive of the phone.
Avoid Using Flash with Mobile Phones
The cameras in smartphones might be exceptional compared to their predecessors; however, the flash that comes with them is simply bad. It could create random shadows and highlights; it could show random reflections and affect the color of the whole image. The only reason you could have to be using a flash would be the inability to otherwise take the photo, e.g. being on the beach at night.
Always try to utilize the natural light as you could send it to your needs and use it to your advantage. Even the artificial light from lamps and other light bodies is much better and will enable you to do a much better job. You wouldn’t travel with a cart if you have the option to travel with a limousine, would you? The same principle applies here.
Use HDR more for Smartphone Photography
HDR mode stands for High Dynamic Range, and it is increasingly common on many smartphones. It adds detail to the dark and light areas to provide better-balanced exposure. In other words, it will stop the sky from being too bright or the ground from being too dark and really suits landscape photography. If there’s a big difference between the lightest and darkest parts of your scene, using the camera phone’s HDR function it’s a good option.
Don’t forget selfies
You don’t have to walk around with a selfie stick all the time, but you should still take a few selfies from time to time. Whether with or without a selfie stick. It’s nice to be in the photo ourselves in front of a great and unique background. Most of the time you are behind the lens.
When you get home, you usually have far too few pictures of yourself on them.
The resolution is always: at least one selfie a day.
Another way to take selfies is to put your camera or phone on a tripod and take photos with either a self-timer or a remote shutter release
Measure Proper Distance with your Smartphone camera
Another disadvantage of smartphone cameras is that their zoom isn’t optical. Once you zoom with a camera, a lot of noise and distortion affect the photo. Surely, it could be edited and cropped out afterward, but honestly, would you really want to spend the time doing that? What you could do is get closer to your subject. We suggest that you practice it on small objects such as flowers or leaves even. You’ll understand the difference in the quality of the photos by yourself. Another alternative is to get a zoom lens for your smartphone which also comes with its advantages.
Take Advantage of the Features of Your Mobile Phone Camera Apps
Let’s actually take a second. First of all, you should not be using the built-in photography application on your mobile phone. Not ioS or Android applications are as good as the third-party ones and that’s no wonder. Third-party developers explicitly focus on the quality of their product, which is only the camera app. They come with more features and settings. Apps like Camera+ or Manual are among the leaders of the market, and indeed, they cost a few bucks but will make it worth your while.
With that in mind, take your time to review all possibilities that the application provides to improve your photography skills. Things, like tweaking the aspect ratio, adjusting the aperture, or even splitting the screen into grids, to help you visualize “The Rule of Thirds” better will make your photos look great.
Many of these apps are in fact complicated to understand at first, but spending some time watching tutorials on YouTube or reading the instructions that come with them, would enhance the quality of your travel photos by a large margin.
1. VSCO Cam can be used on iPhone & Android.
2. Snapseed can be used on iPhone, iPad & Android.
3. Instagram can be used on iPhone, &Android
4. Flickr can be used on iPhone, & Android
5. Lightroom can be used on iPhone & Android
Bonus Tip: Be Creative
At the very end, I want to give you one more important rule: be creative. Change your point of view as often as possible, for example, squat down and take pictures from below. Use various objects as the foreground for your photos. Just try it out, practice makes perfect after all.
Smartphone Travel Photography Tips: Wrapping up
With these smartphone travel photography tips, you should be well on your way to taking great photos and videos while on your travels. Just remember to keep your phone camera handy, and to take advantage of all the features your phone has to offer. With a little practice, you’ll be taking amazing travel photos in no time!
FREQUENTLY ASKED QUESTIONS
How Does Panorama Mode Help You Take Better Travel Photos?
Panorama mode on your smartphone camera is great for taking better travel photos. It allows you to take a picture with a wider field of view than your camera lens would typically allow. This is especially helpful when you’re trying to take a photo of a scenic landscape or a large group of people.
Best smartphone settings for video
There are a few things to keep in mind when adjusting the video settings on your smartphone. First, consider the resolution. 1080p is standard for most videos, but you may want to go higher for certain types of footage. Next, think about the frame rate. A higher frame rate will result in smoother video, but it will also take up more storage space. Finally, pay attention to the bitrate, which is a measure of the quality of the video. A higher bitrate will result in a better-looking video, but it will also use up more data.
Link
Shoot Travel Photos in RAW
RAW files are the best quality files that your camera can produce. They contain all of the data captured by your camera’s sensor, and they give you the most flexibility when editing your photos. That’s why shooting in RAW is essential for travel photography.
Mobile travel photography has come a long way in recent years, and now it’s possible to get great results with just a smartphone. But even the best phone cameras can’t match the quality of a DSLR or mirrorless camera. So if you really want to up your travel photography game, shoot in RAW.
Use HDR more for Smartphone Photography
HDR, or high dynamic range, photography is a great way to make your smartphone photos look more professional. By taking multiple photos at different exposures and then combining them into one image, you can create an image with a wider range of shadows and highlights. This is especially useful for shooting in difficult lighting conditions, such as when there are both very bright and very dark areas in the same scene.
Best Apps for Photo Editing on a smartphone
There are a number of apps available for photo editing, ranging from simple to complex. A basic editing app might offer basic features like cropping, brightness and contrast adjustments, and adding text or filters. More advanced apps might offer more sophisticated features like layers, masking, and professional-level color correction. No matter what your needs are, there’s an app out there that can help you edit your photos just the way you want.
Add LINK
1. VSCO Cam can be used on iPhone & Android.
2. Snapseed can be used on iPhone, iPad & Android.
3. Instagram can be used on iPhone, &Android
4. Flickr can be used on iPhone, & Android
5. Lightroom can be used on iPhone & Android
Why smartphones are great for taking photos when you travel
Smartphones are great for capturing photos when you travel. With the camera app, you can take amazing photos and edit them with the editing app. You can also take street photography and photos with your phone.
What are the best phones for travel photography?
There are a few great smartphones for travel photography, but the best one depends on what you’re looking for. If you’re primarily interested in taking photos of people, then the iPhone Lineup is a great choice. It has an excellent camera that takes great photos, even in low light. If you’re more interested in taking photos at night, then the Samsung Galaxy S22 is a better choice. It has an excellent camera that takes great photos in low light, and it also has a built-in night mode that makes it easy to take amazing photos in dark conditions.
How to shoot in RAW on your smartphone
If you want to shoot in RAW on your smartphone, you need to use a camera app that supports this feature. Mobile phone cameras usually don’t have this option, but there are some apps that do. When you travel, you may want to take photos in RAW so that you can edit them later on your computer.
Read more about Travel and Smartphone Photography Tips
Ultimate TOP 50 Photography and Instagram locations in Vienna
Best 5 tips for starting film photography
Trey Ratcliff – Inspirations from the Vienna Photo Walk
How to make great Travel Walking Videos (Equipment & Tips)
FIVE EASY STEPS TO MAKE GREAT 4K TRAVEL WALKING TOUR VIDEOS