Last Updated on October 6, 2016 by gregor
Hi,
I often get asked and commented how do I edit my Instagram photos. So it is actually not hard to do. I use several photo editing tools which you can download from the App Store to your Smartphone (either Android or iOS) Snapseed and VSCOCam. 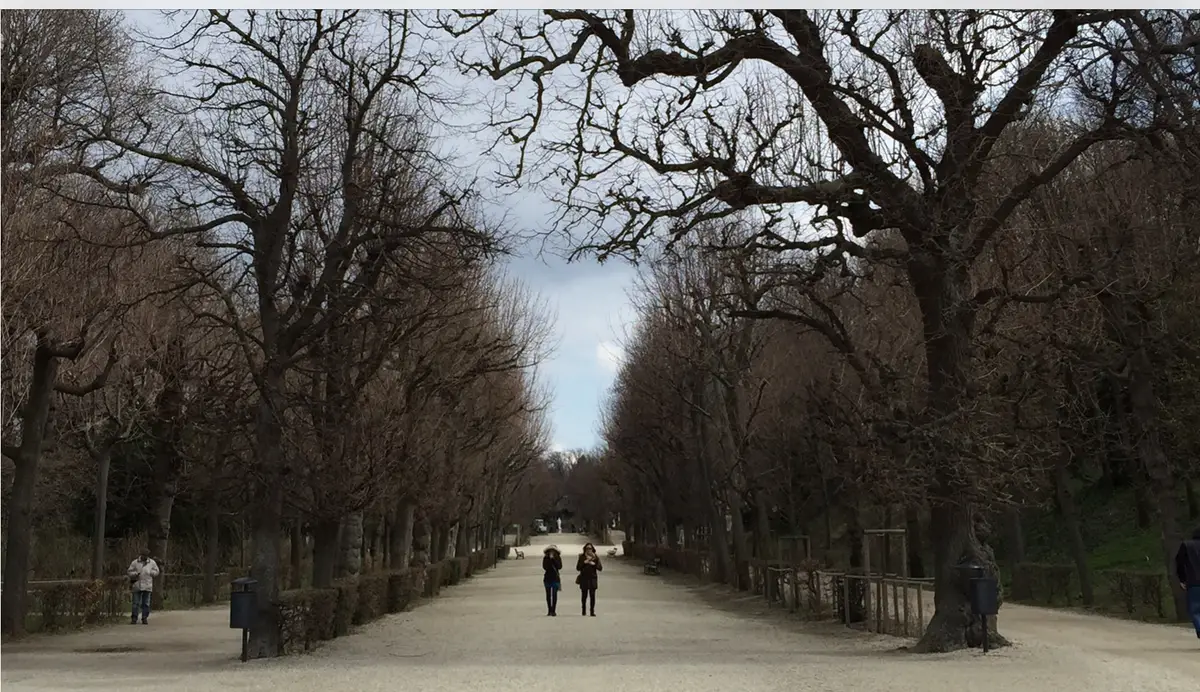
So this is the original photo taken with my smartphone here in Vienna, Austria Schönbrunn Palace park avenue. Picture taken in the afternoon with quite decent lightning conditions. Nevertheless some post editing brings some nice results.
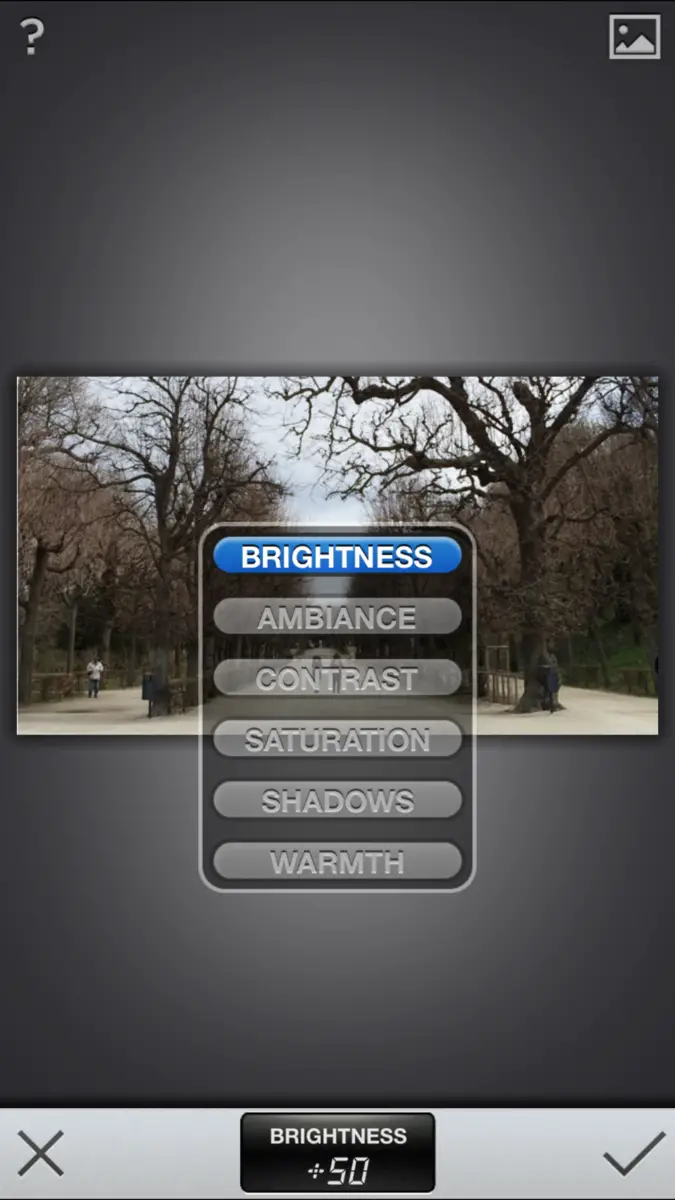
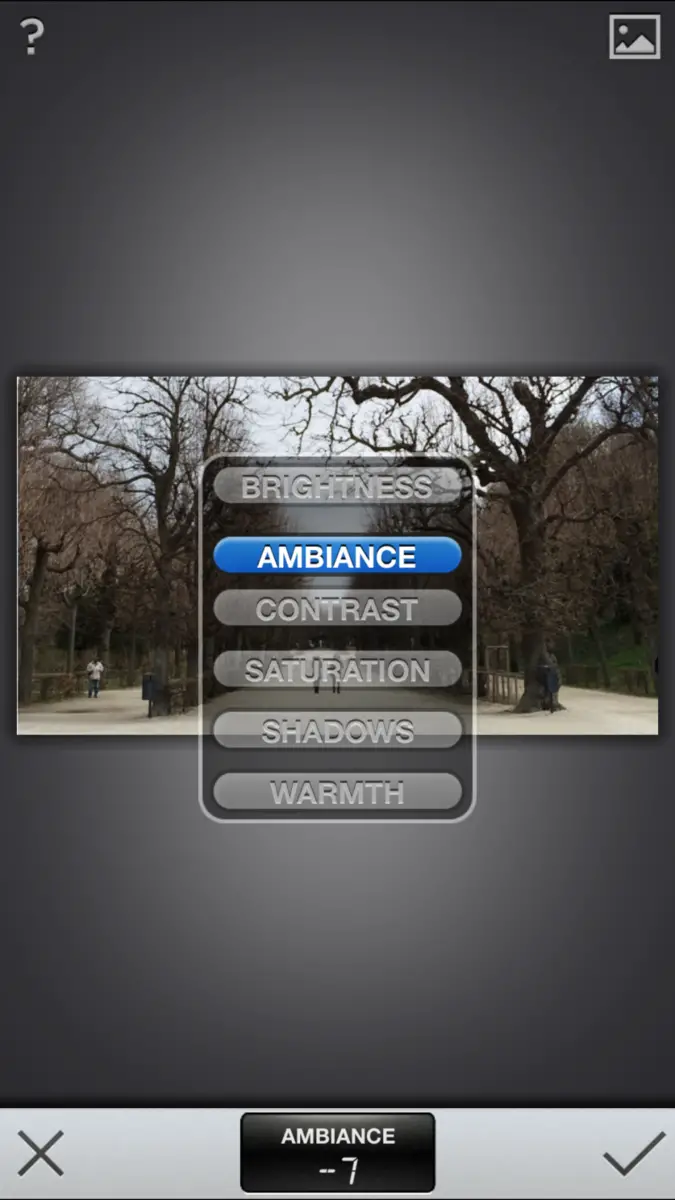
I am always starting with Snapseed. Once the App Snapseed is open, you’ll see a couple of buttons below- those are all the tools you can use for the image. Use “tune image” first and check out the editing options you have there. When you scroll the screen up and down, you can choose what you want to edit your photos. For this photo, I increased “brightness” and lowered “ambiance” for the photo so the photo looks much more cleaner.

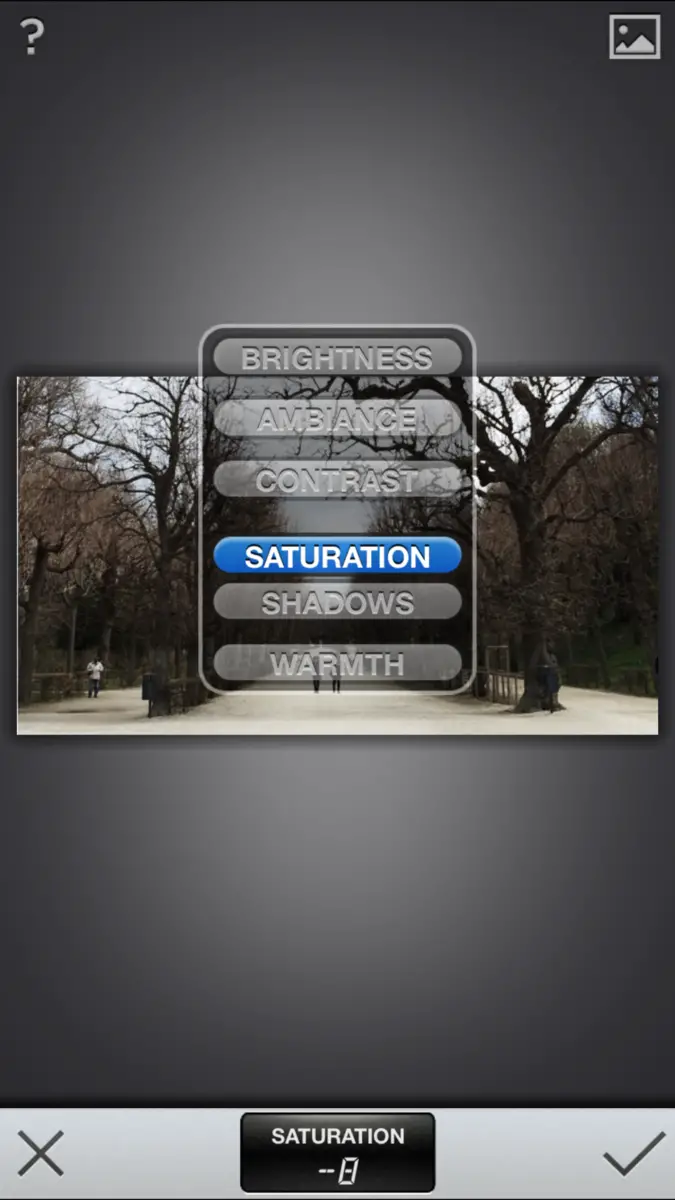
The is increase “contrast” and lower “saturation” so that the photo gets a more crisp and natural touch; less vibrant.
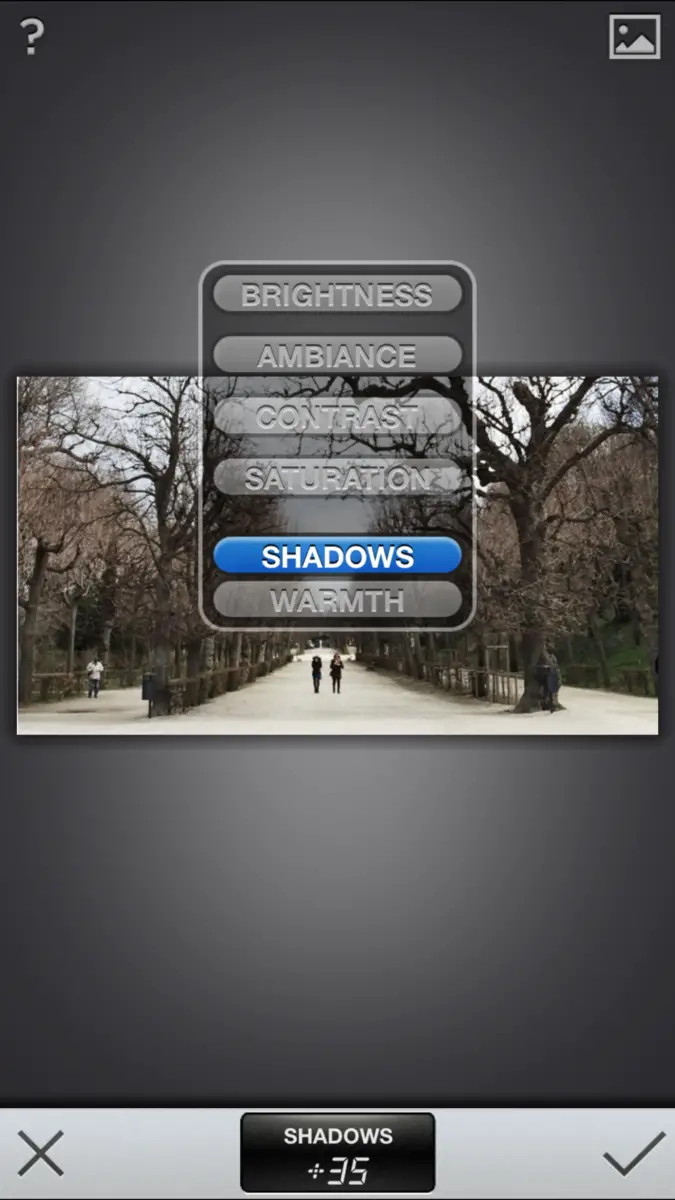
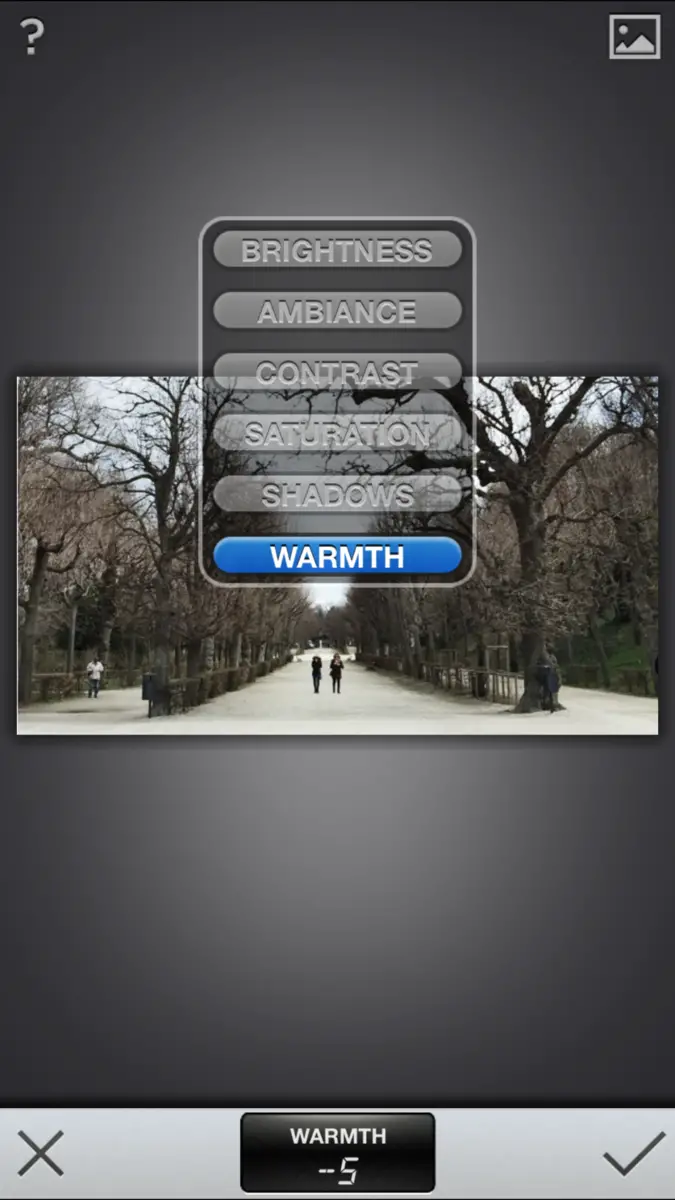
In order to get mor in-depth I increase the shadows. For this particular photo, I didn’t want it to be saturated and too redish so I chose “warmth” and lessened the colours until blue started coming out a little bit .
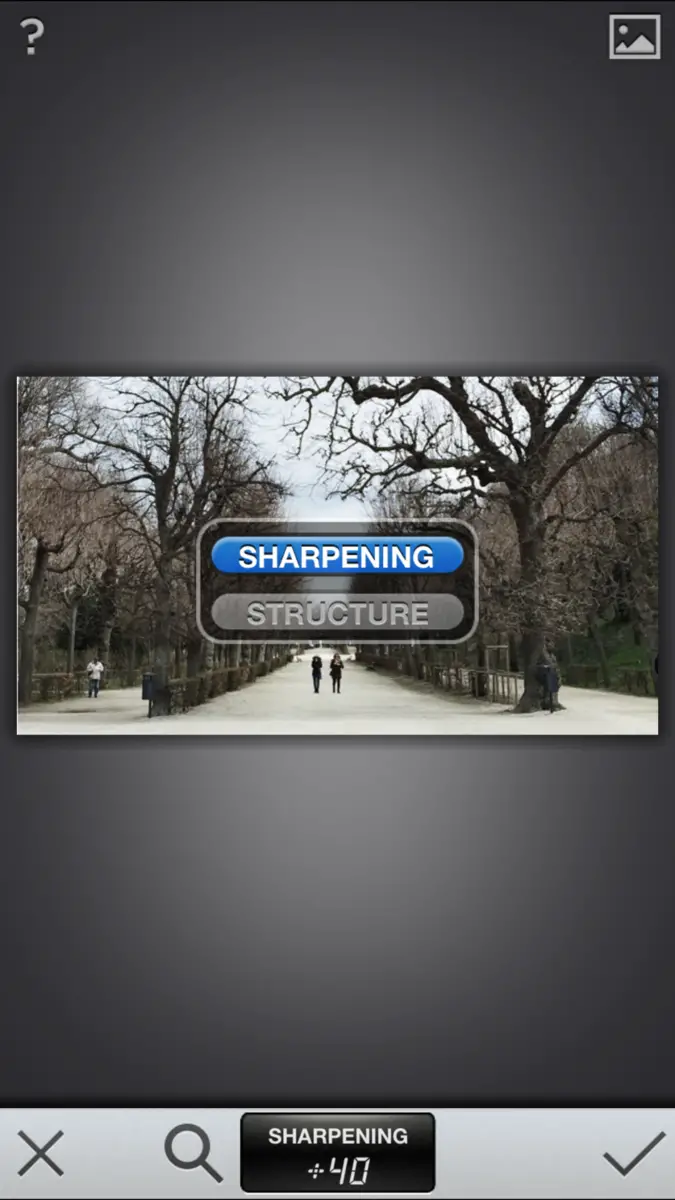
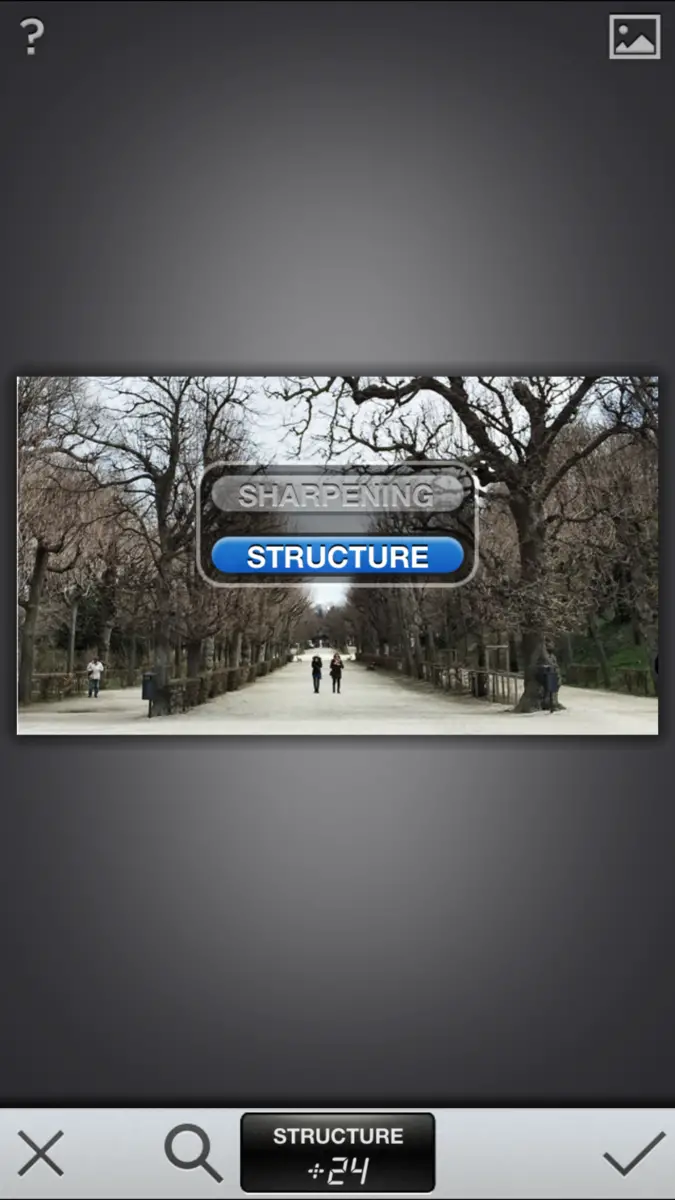
After that, press check so you can exit “tune image” so you can go back to the homepage and then go to “details” next. This one is my favorite because it makes the photos crisper and sharper.
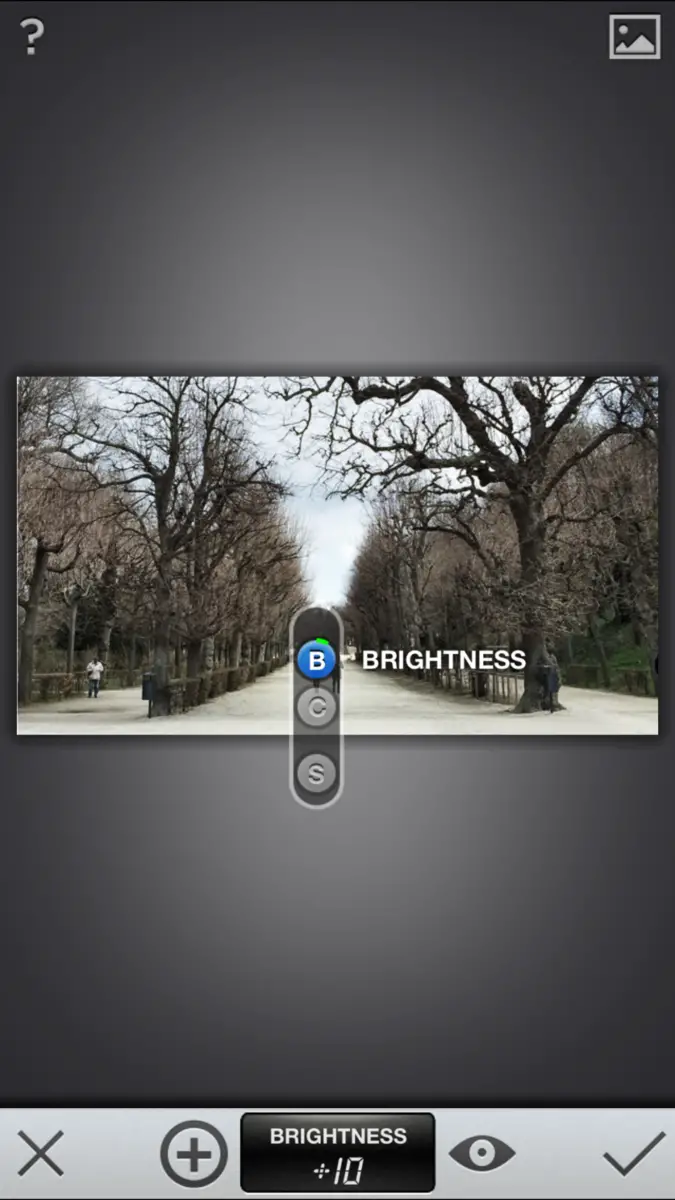
Finally in this picture I wanted to highlight the two people in the middle of the photo. If you go to “selective adjust” then choose the point to the 2 persons and then do a little bit of more brightness. So the viewer can fast capture the couple.

After I use Snapseed, I transfer the edited photo to VSCO Cam App to edit it a little bit more. I do this especially with my landscape photos. Once you open the app, you’ll see a lot of filters below where you can choose from. For this particular photo, I did choose “E3” filters and clicked the “tool” button so I can edit it then manually. I also sharpen the photo and do some minor highlights and shadows. Then save the edited photo on your album. CROP finally
After that, I go back to Snapseed again and go to “tune image” and click contrast up and saturation down so the colours look more natural.
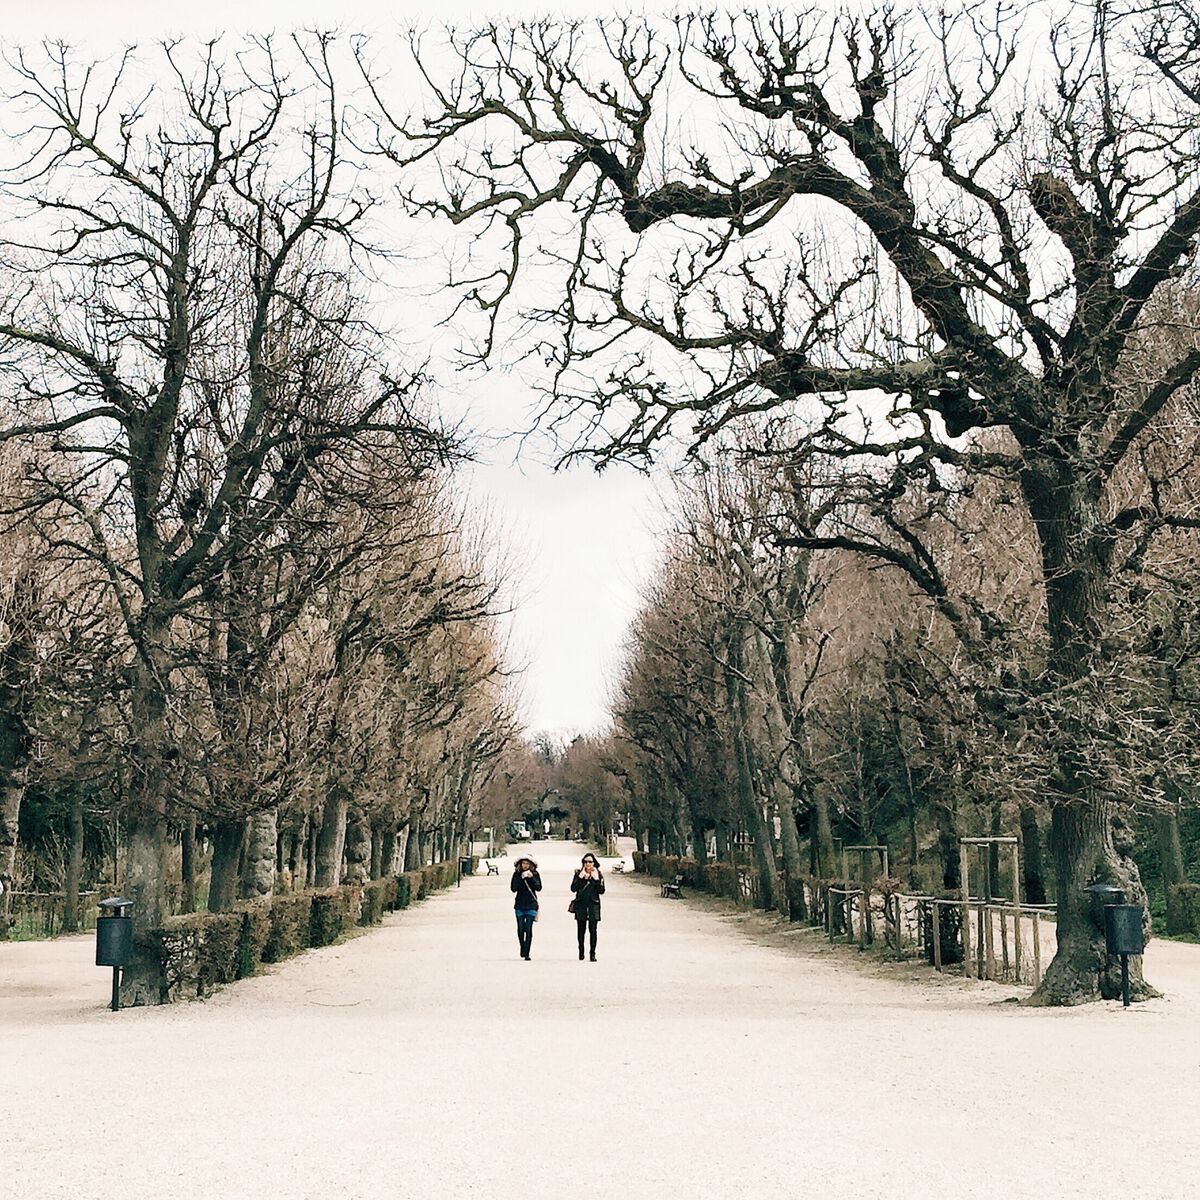
Voila! Here we go!
How do you edit your Instagram photos ?